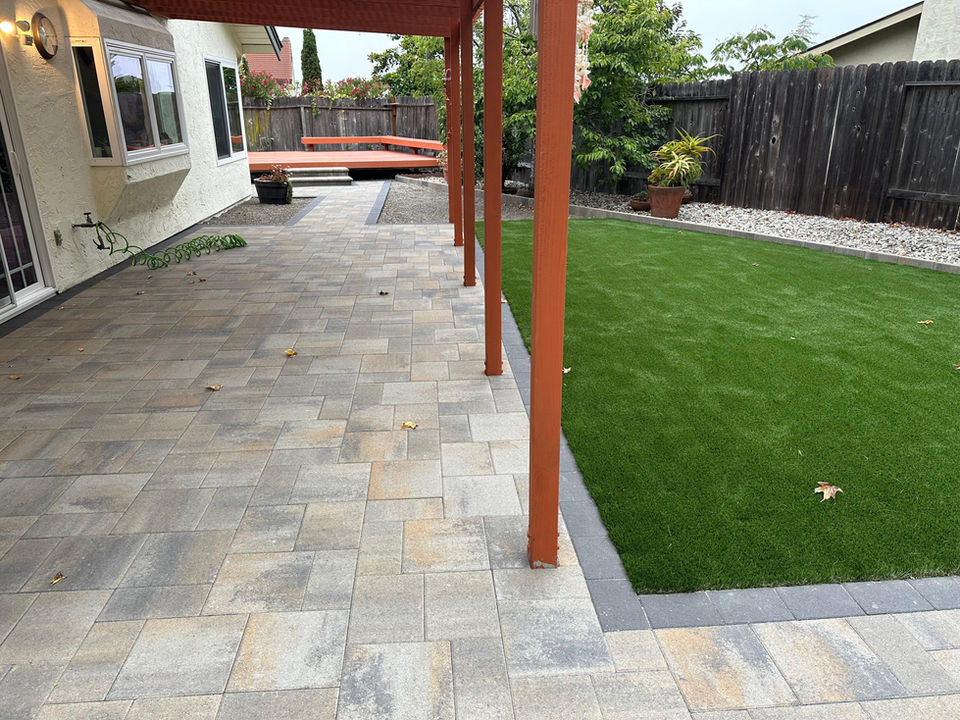
We indeed have preserved the most excellent possible standards of quality. Our professionalism, confidence, and high quality of work have earned us an excellent standing among our customers. We are focused on keeping our clients pleased by offering top-quality solutions at economical prices. Whether you call to have your driveway reconstructed or in case you have an outdoor job, you can depend on Envision Paver Installation to provide the best excellent service you need. For quite a very long time, we have worked thoroughly to accomplish every single paving project on time and on budget. We work with companies and residential clients throughout Bay Area. Our expert, friendly paving contractors, use the perfect gear and components in the business — making it feasible for them to handle any type of task. In addition, we supply zero-cost preliminary consultations to every customer. We provide you with affordable pricing about every work. You may be sure you will find the top-quality paving you need without the best end price tag.
Hurry up! Contact us today and get
FREE IN-HOME CONSULTATION
Interlocking Paving Stone Installation & Paver Design
OUR RECENT PROJECTS
HOW WE INSTALL OUR PAVER
Paver stones are popular for outdoor landscaping projects as they offer a durable and attractive surface for walkways, patios, and driveways. Installing paver stones can seem like a daunting task, but with proper planning and preparation, it can be a relatively simple process. Here are the steps for paver stone installation:
- Plan your project: Before starting the installation process, it is important to plan your project and determine the size, shape, and layout of your paver stone area. Measure the space accurately and determine the amount of pavers you need to complete the project.
- Prepare the base: The success of your paver stone installation depends largely on the preparation of the base. The base should be level and compact to ensure that the pavers are stable and do not shift over time. If necessary, remove any existing grass or vegetation and dig down to the proper depth. Fill the area with crushed stone or gravel and compact it with a plate compactor.
- Lay out the pavers: Once the base is prepared, it’s time to lay out the pavers. Start by marking the area’s perimeter with a string line or spray paint. Then, place the pavers in the desired pattern and make necessary adjustments to ensure they are level and spaced evenly.
- Cut the pavers: Depending on the size and shape of your area, you may need to cut some pavers to fit around curves or corners. A power saw or masonry saw can be used to make precise cuts.
- Install the pavers: Once the pavers are cut and laid out, it’s time to install them. Spread a layer of sand over the base and use a hand tamper or plate compactor to level it out. Then, place the pavers into the sand and gently tap them into place with a rubber mallet.
- Fill the joints: After the pavers are installed, fill the joints between them with sand. Use a broom to sweep the sand into the joints and then mist the pavers with water to settle the sand into place. Repeat this process until the joints are filled to the desired level.
- Seal the pavers: To protect your paver stone installation from moisture and staining, it is recommended to seal the pavers with a penetrating sealer. This will also enhance the color and texture of the pavers.
By following these steps, you can ensure a successful paver stone installation that will provide a durable and attractive surface for years to come.